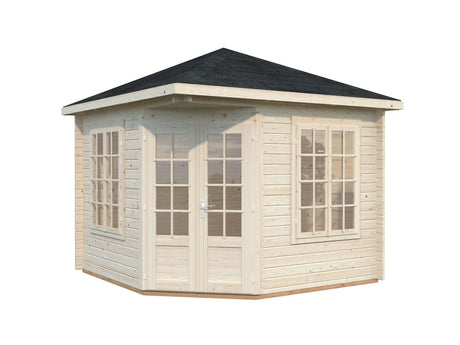
A Step-by-Step Guide to Installing the Roof on Your Palmako Cabin
Building your Palmako cabin is an exciting process, and installing the roof is a crucial step to ensure its durability and protection. Here's a detailed guide on how to correctly install the roof, from fitting the purlins to securing the roof boards.
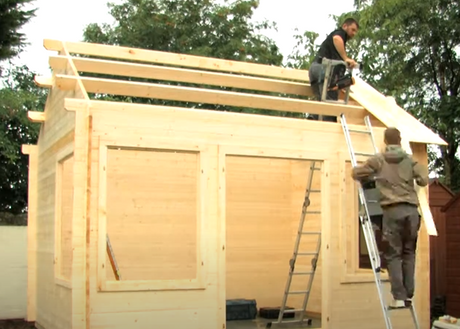
Step 1: Installing the Purlins
-
Positioning the Apexes:
- Begin by placing the apexes in their designated positions.
-
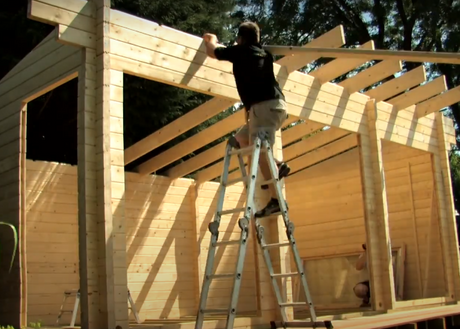
Slotting in the Purlins:
- Simply slot the purlins into the pre-cut grooves on the apexes. Ensure that each purlin is flush to the apex for a snug fit.
-
Adjusting the Fit:
- If the purlins are not entirely flush, you can sand or carefully chisel them to achieve the perfect fit. This step ensures that the structure is solid and stable.
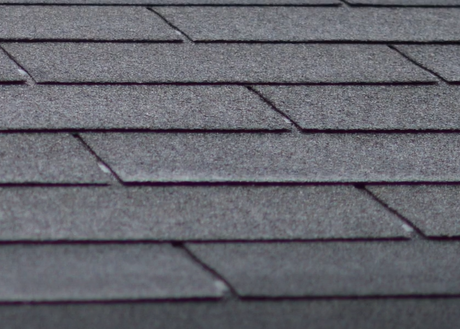
Step 2: Fitting the Roof Boards
-
Starting Point:
- Begin fitting the roof boards at the end of either overhang. This provides a starting point that allows for a uniform and orderly installation.
-
Room for Expansion:
- Use our tongue and groove boards for the roof. These boards should not be tightly compressed together. Leave some room for expansion to accommodate changes in temperature and humidity.
-
Securing the Boards:
- Nail each board to the purlins. Ensure the nails are flush with the boards to prevent any protrusions that could cause damage or injury.
By following these steps, you can effectively install the roof on your Palmako cabin, ensuring a sturdy and long-lasting structure. Proper installation not only enhances the aesthetic appeal but also provides reliable protection from the elements, making your cabin a perfect addition to your garden.