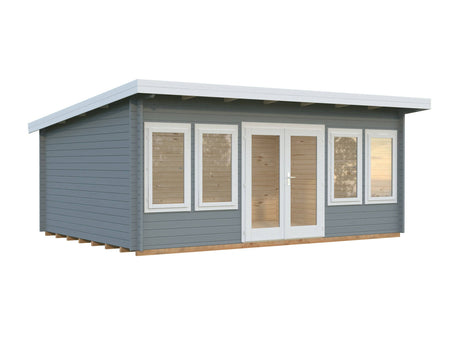
A Step-by-Step Guide to Assembling Your Palmako Cabin
Installing a Palmako cabin in your backyard can transform your outdoor space into a versatile area for relaxation, work, or entertainment. Here’s a detailed guide to help you through the process, from delivery to the final touches.
Delivery and Preparation
Your Palmako cabin will arrive on a specially equipped Hiab lorry. Each cabin is securely wrapped in five-sided plastic pallets to ensure weatherproof transportation. Our delivery team will strive to offload the cabin as close to the proposed construction site as possible.
Setting the Foundation
-
Choosing the Base:
- All cabins must sit on a firm, level base. In this example, the customer chose a hardwood timber deck.
- The first step is laying out and screwing together the pressure-treated foundation beams and floor joists. Use a spirit level to check that the base is completely level and that measurements correspond with the provided plans.
-
Foundation Beams:
- Screw the pressure-treated foundation beams onto the chosen foundation. This provides a solid and durable base for the cabin.
Constructing the Cabin
-
Log Walls:
- Log walls slot together using our easy-fit tongue and groove timbers. Lay out all pieces prior to construction to ensure everything is present.
- Wooden dowels are used to secure a tight and secure fit for the structure.
-
Experience and Reach:
- With over 10 years of experience in selling and constructing log cabins across the UK, we take pride in delivering high-quality products and services to our customers.
Building the Structure
-
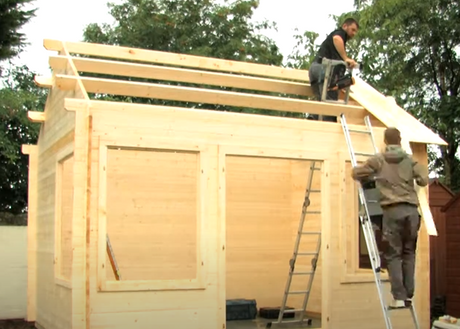
Reaching Eaves Height:
- As construction reaches eaves height, using a ladder is recommended for safety and convenience.
- For added strength and rigidity, steel rods are inserted into the corner joints. These rods are standard in all our 70mm cabins.
-
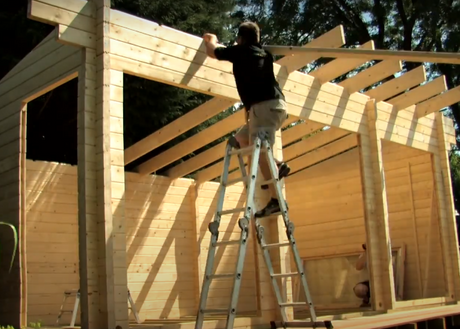
Roof Installation:
- The crew installs the roof purlins first. Once in place, roof boards are nailed on top to complete the roof structure.
Finishing Touches
-
Preservative Treatment:
- Once erected, all log cabins and garden buildings require a preservative treatment. We are happy to provide advice on the best products currently available.
-
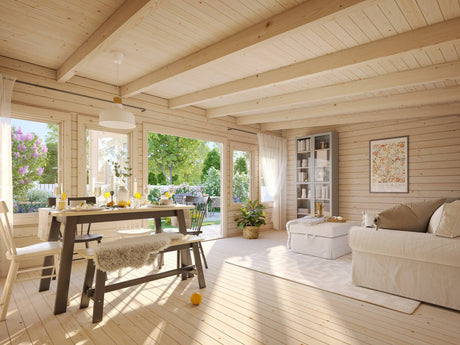
Floor and Insulation:
- The crew installs the floorboards next. Insulation boards can be placed beneath the floorboards for an extra cozy feeling.
-
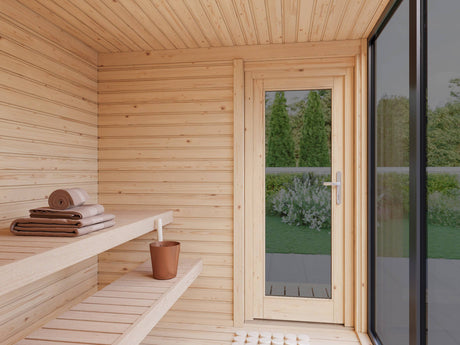
Windows and Doors:
- Windows and doors are fitted last. They are slotted and screwed into place, ensuring a secure fit.
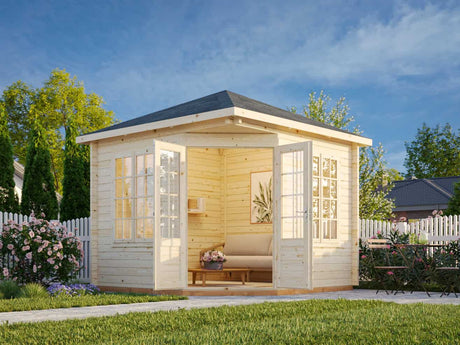
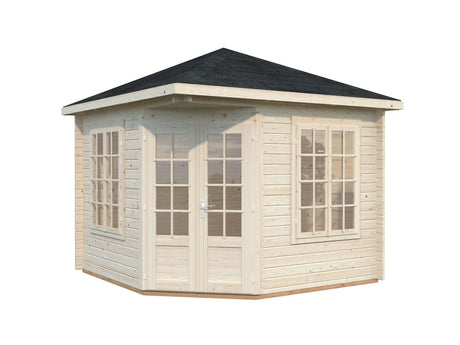
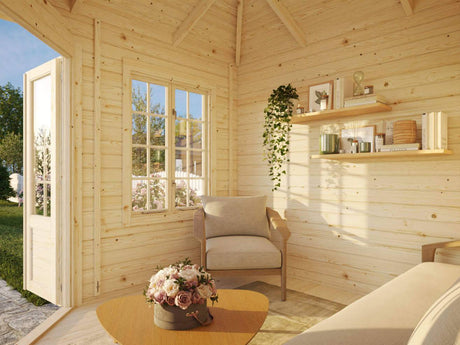
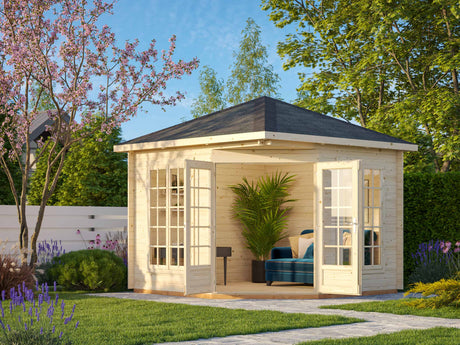
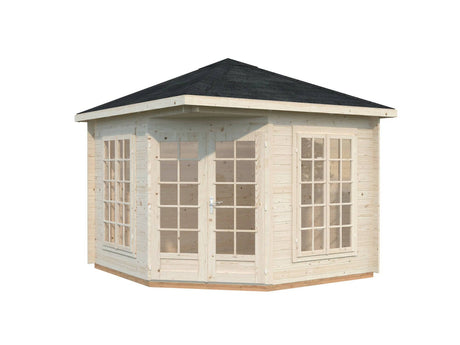
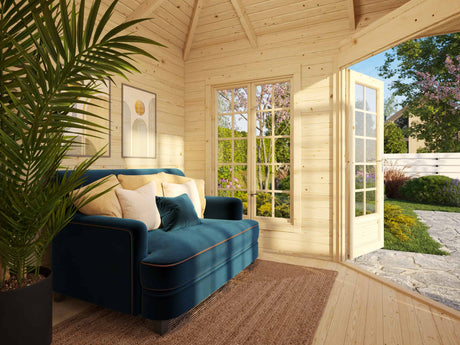
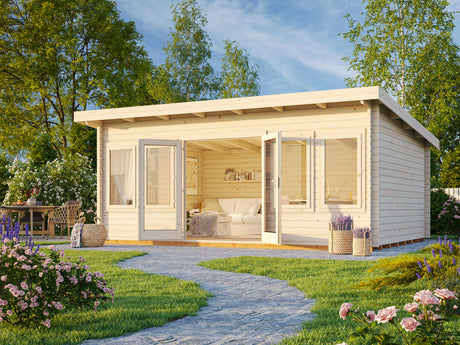
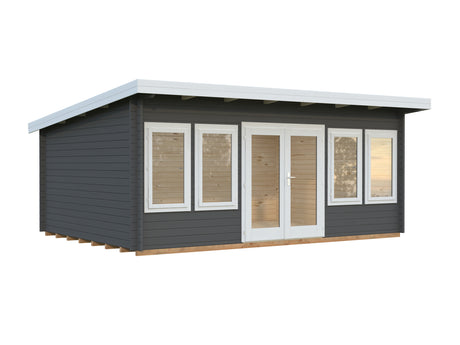
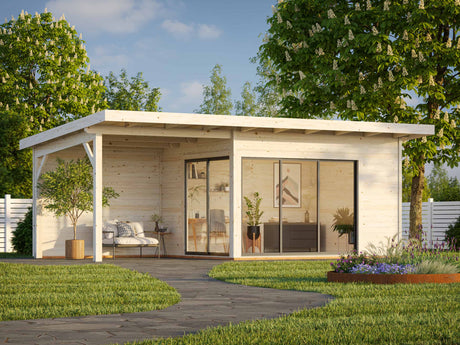
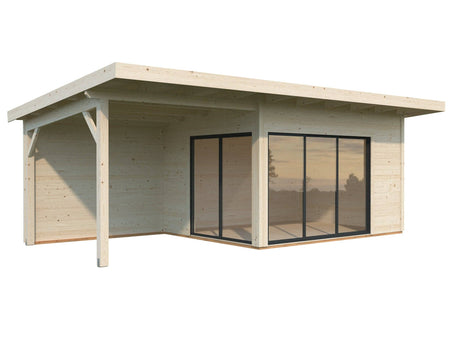
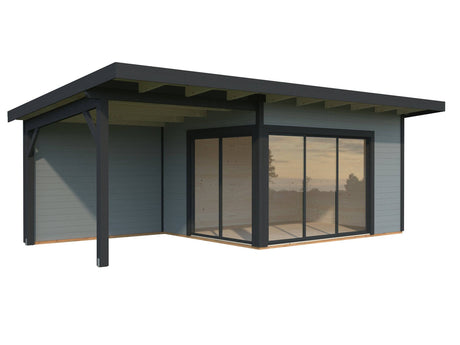
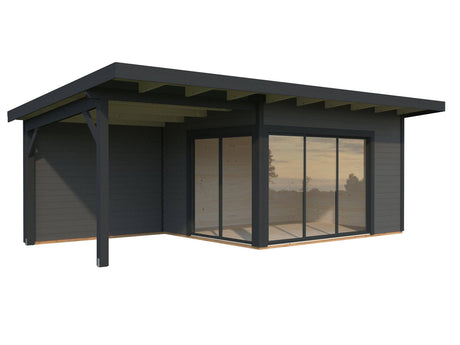
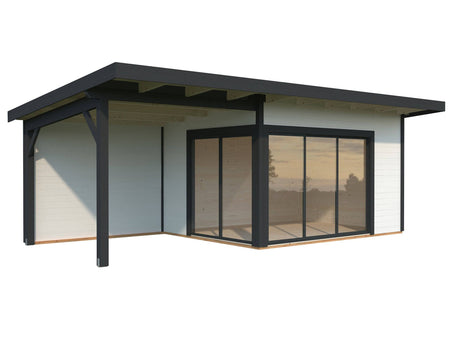
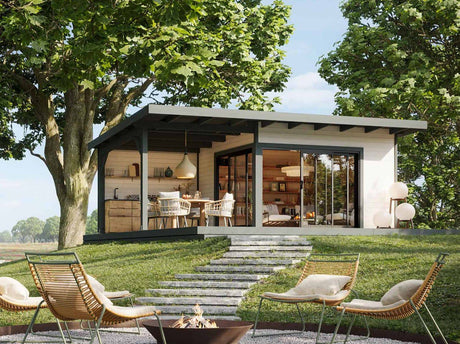
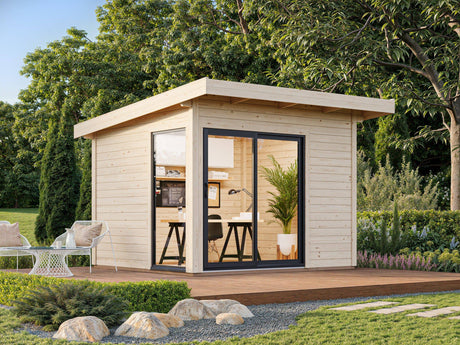
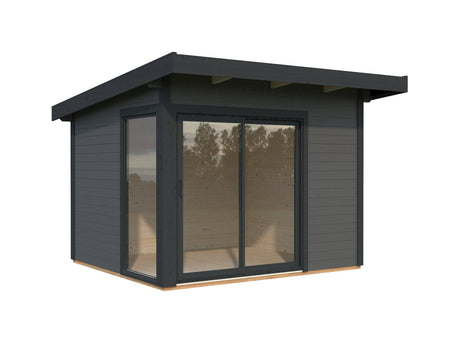
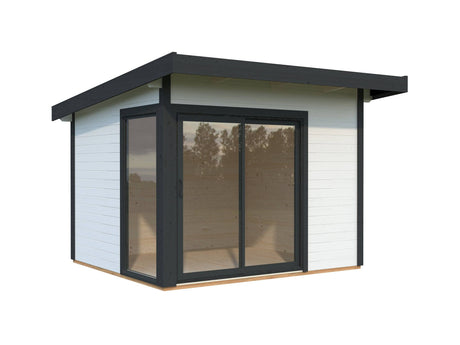
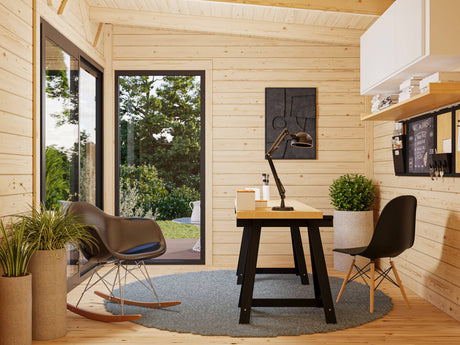
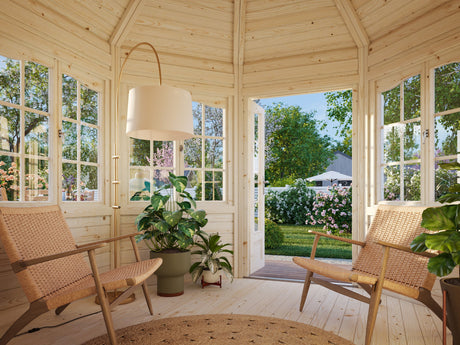
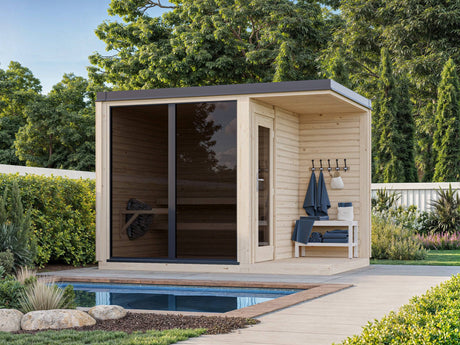
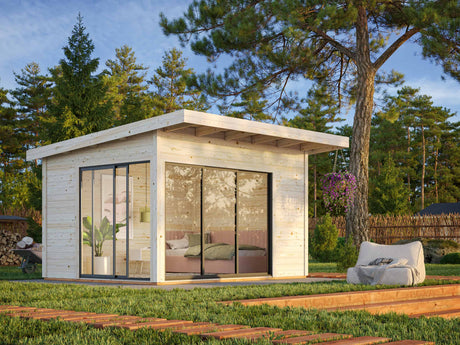
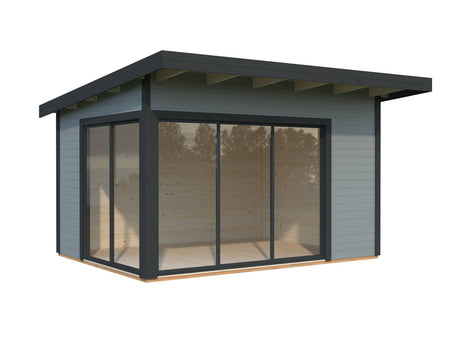
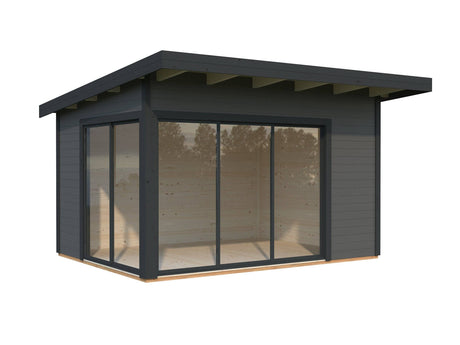
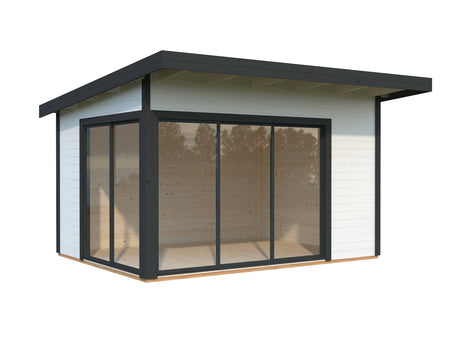
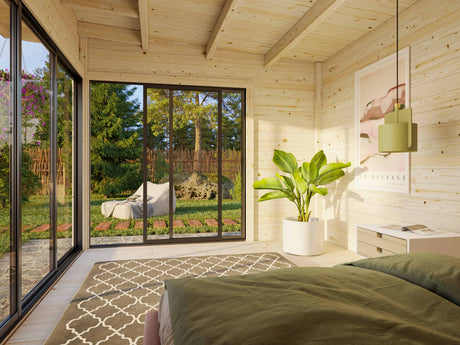
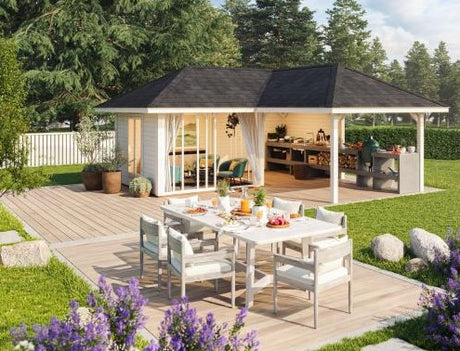
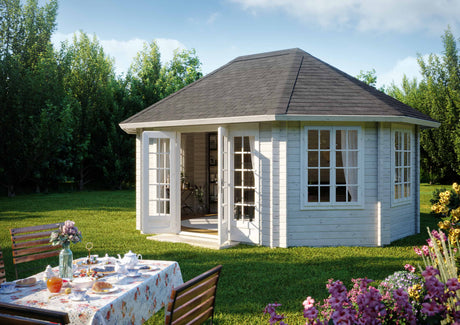
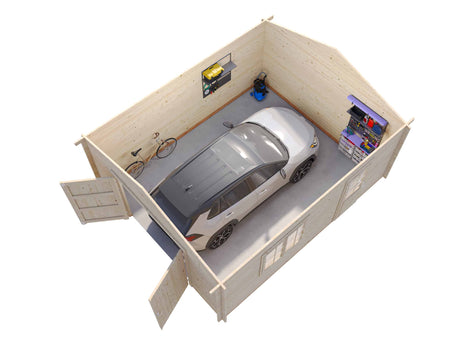
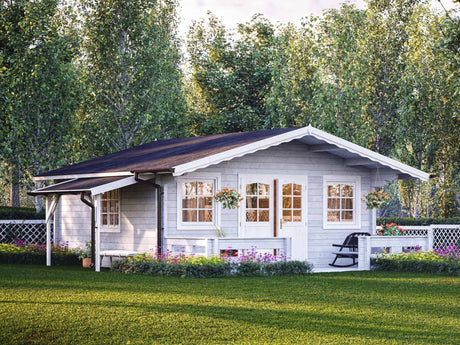
The Final Product
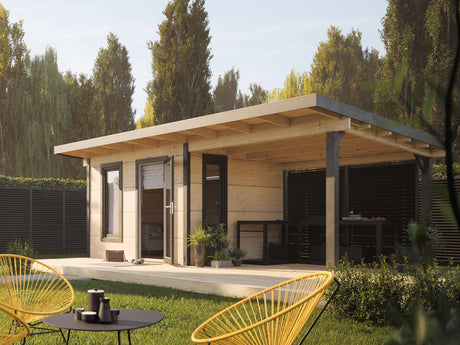
Once completed, your Palmako cabin can serve as a stunning office, games room, or a space to relax with friends and family. For those looking to complement their cabin with additional storage solutions, a double garage is a great option. It provides ample space for vehicles, tools, or other belongings, offering both functionality and durability.
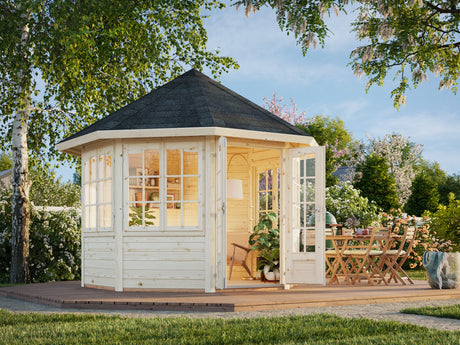
Whether you're opting for a standard model or exploring large log cabins, With its beautiful design and sturdy construction, it’s an addition that will enhance your outdoor living experience for years to come.
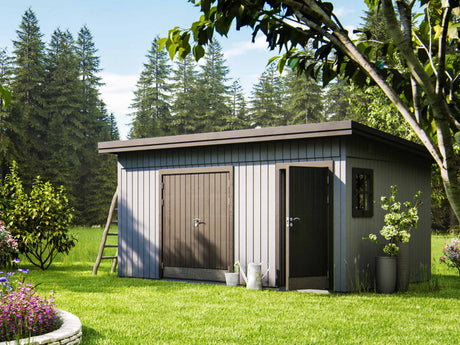
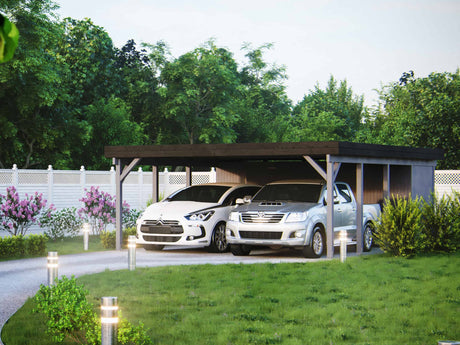
For those needing extra storage space, a small shed can be a great addition alongside your cabin, offering a compact and practical solution for keeping tools, gardening supplies, or outdoor equipment neatly organized.
Enjoy your new Palmako cabin and the endless possibilities it brings to your garden!