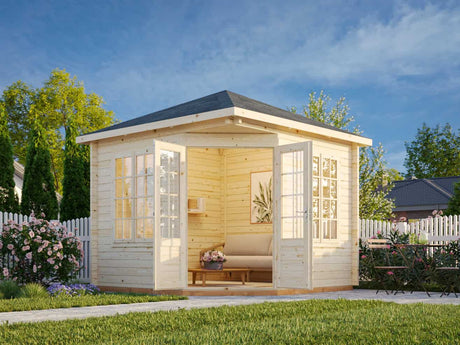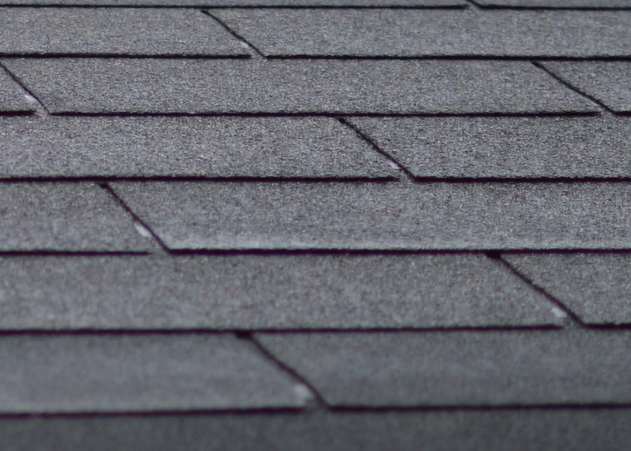
How to Install Roof Shingles for a Slate-Like Finish
Roof shingles are a popular choice for homeowners looking to achieve a slate-like appearance without the cost and weight of real slate. Our roof shingles come in packs containing around 20 sheets, which cover approximately 3 square meters when laid out. Here’s a step-by-step guide to installing these shingles, ensuring a professional and durable finish.
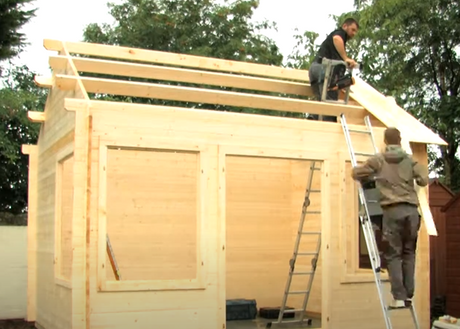
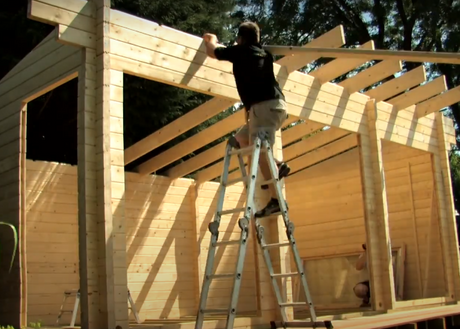
Preparation
Before starting the installation, ensure that the fascia boards on the eaves side are installed. This provides a stable base for the shingles and helps in aligning them correctly.
Step-by-Step Installation
-
First Row Installation:
- Start at the eaves side.
- Lay the first row of shingles so that they overhang the fascia board by about 1 to 2 centimeters.
- Each sheet should be nailed in place using at least four large head felt tacks. Position the tacks about halfway up each sheet to ensure they are concealed by the next row of shingles.
-
Second Row Placement:
- The second row should be placed directly on top of the first row. However, ensure that these are staggered to cover the slotted pattern and hide the wooden roof boards.
- Use the top of the slot in the previous row as a guide for placing the bottom of the new shingle sheet. This helps maintain a consistent pattern up the roof.
-
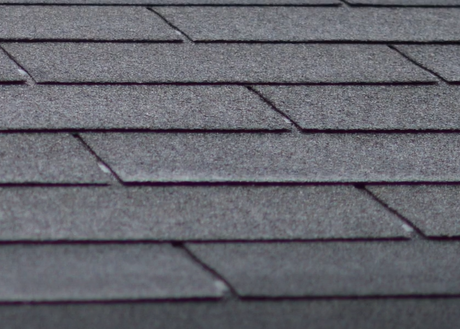
Continuing Up the Roof:
- Continue this process, ensuring each new row is staggered and overlaps the previous row. This will create a continuous slate pattern.
- Use larger cuttings at the start of each row to avoid running out of tiles.
Ridge Tile Installation
-
Preparing Ridge Tiles:
- Use the remainder of the tiles for the ridge.
- Cut each sheet straight up from the slot, creating three square tiles from each sheet.
-
Installing Ridge Tiles:
- Start at one end of the ridge, fold over one square tile, and tack it down with felt tacks, ensuring it is even on both sides of the ridge.
- The second tile should overlap the first tile halfway. Continue this process to the other end, ensuring the ridge line remains straight.
-
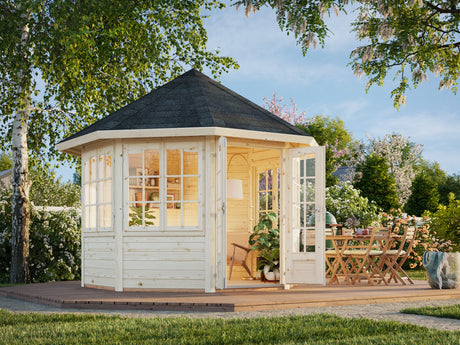
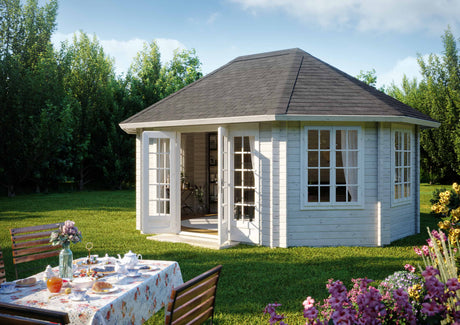
Special Considerations for Gazebo Roofs:
- For gazebo-type roofs, always lay ridge tiles starting from the bottom and working up to the top of the roof.
Finishing Touches
- Trim all tiles neatly before attaching them to the end or gable fascia boards. This ensures a clean, professional finish and improves the overall durability of the roof.
By following these steps, you can achieve a beautiful, slate-like finish for your roof that is both cost-effective and easy to maintain. Happy roofing!