When you invest in a shed, with the idea of using it as a storage space, a workshop, or a future home office, you may be wondering if it’s properly sealed or needs insulation. The truth is, insulation is a good idea for a number of reasons, including:
- Extending the use of the shed year-round (keeping it cool in summer, and warm in winter).
- Preventing damage to stored items such as expensive garden tools, workshop equipment, or household items. Without insulation, dampness, insect invasion, and extreme weather can penetrate your shed, and cause a costly problem.
- Creating an energy-efficient space reduces additional heating and cooling costs.
In this short guide, we help you work through the process of shed insulation, thereby gaining these key benefits for your garden building.
Common insulation materials
Before jumping into the steps associated with shed insulation, a quick overview of insulation materials will be helpful for making the right choices. In this post, we focus on wooden shed insulation as opposed to metal shed insulation, but they are quite similar.
1. Polyethene bubble wrap

One of the cheapest options for shed insulation, bubble wrap, is a good starting point for keeping your cabin protected from the elements. It is readily available, and can be brought in rolls varying from £7 a roll, to more expensive UV stabilised insulation rolls which can cost up to £109. Suitable for shed walls, bubble wrap is a cost-effective option.
Bubble wrap is easily installed by stapling it or applying adhesive to secure it to the wooden garden shed, but as far as a barrier against heat loss goes, you’re likely better off using something else.
2. Foil-backed bubble wrap

Different from polyethene bubble wrap, this foil-back alternative is made from one or two layers of air-filled polyethene bubbles sandwiched between aluminium foil or metalised foam layers. Due to the foil on both sides and a better bubble structure, it provides a higher thermal resistance than plastic bubble wrap.
It further acts as an effective vapour barrier and reduces condensation when sealed well at the joints. Foil-back bubble wrap is easily found in hardware, construction stores and online, costing anywhere from £10 to £40 plus, depending on the type. Suitable for the garden shed roof, shed floor, and shed walls, this insulation material is more versatile than the polyethene option. Further advantages include:
- Lightweight material, suitable for handling on your own.
- Easy to cut and install using a staple gun or adhesive.
One downside of this material is that it needs an air gap of usually 20–25mm between the foil and the internal cladding to function as designed, and provide adequate thermal resistance.
3. Mineral wool

A popular choice for insulating a garden building, mineral wool is made from minerals (as the name suggests) that are heated at an extremely high temperature, and then spun into fibres. [1] Two of the most common types are:
- Glass mineral wool, or fibreglass insulation (made from silica or glass cullet).
- Stone wool (made from volcanic rock).
Mineral wool insulation is excellent for shed roof insulation for its thermal resistance properties, fire resistance, and sound-absorbent nature (which also makes it a great choice for shed walls and floors).
This option is excellent if you have future plans to turn your shed into a garden office and are concerned with energy efficiency. Installing effective insulation in homes and commercial properties can reduce heating requirements by up to 70%. [2]
Manufacturers make unique products that are suitable for shed floor insulation, roofing, ceilings, and even external walls. This affects the pricing of the mineral wool, but on average, expect to pay between £13 - £17.5 per m2. [3]
4. Rigid foam boards

The most common types of insulation boards are PIR (Polyisocyanurate), Polystyrene (EPS and XPS), and phenolic foam. Used for the roof, walls and underfloor insulation, it is a cost-effective shed insulating option. The costs range from £5 – £15 per m2, depending on the type of board. Here are some tips for buying the right insulation boards:
- PIR insulation boards: The most popular type due to their unrivalled thermal efficiency. However, they are difficult to recycle and cannot be discarded as bio-waste.
- PUR board: Polyurethane foam insulation panels are another popular choice for small spaces, like sheds. They are resistant to moisture, mold, and rot, but are not as thermally effective as the PIR board.
- EPS and XPS boards: Budget-friendly, yet thermally effective. These boards are water-resistant, yet vapour-permeable, keeping your shed dry in all seasons.
- Phenolic board: Phenolic insulation is a rigid type of insulating board with a 95% or more closed-cell structure, making it nearly impervious to moisture. Phenolic insulation is most praised for its flame and fire resistance.
Step-by-step guide for getting a well-insulated shed
Now that we’ve covered some of the most common insulation materials and their uses, it’s time to tackle your shed insulation project. By following this step-by-step mini guide, you’ll be done in no time.
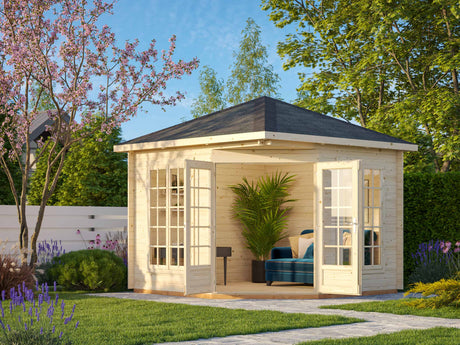
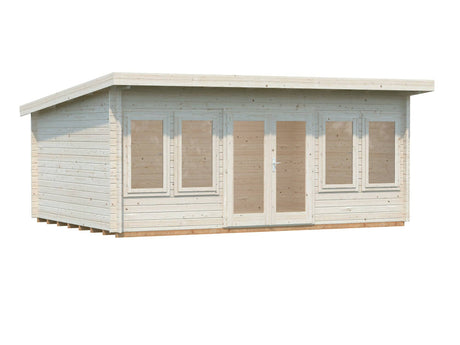
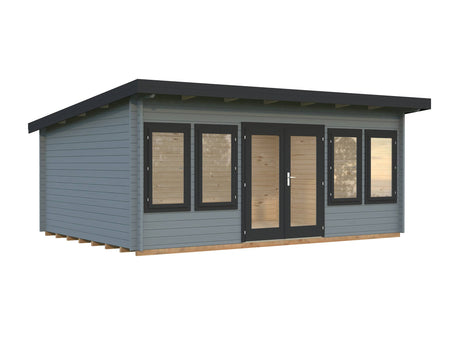
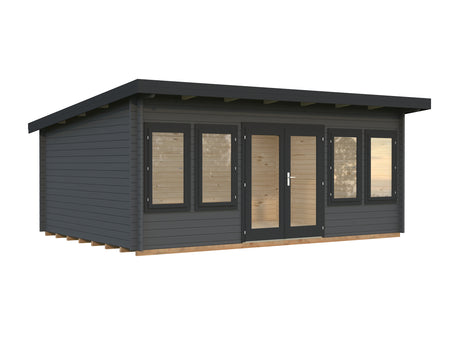
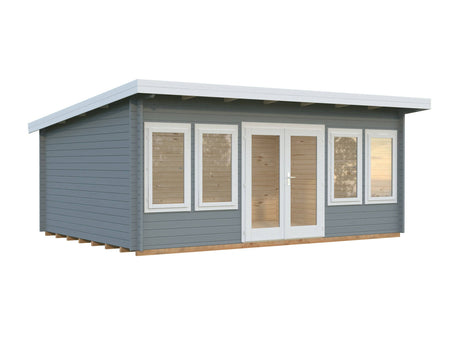
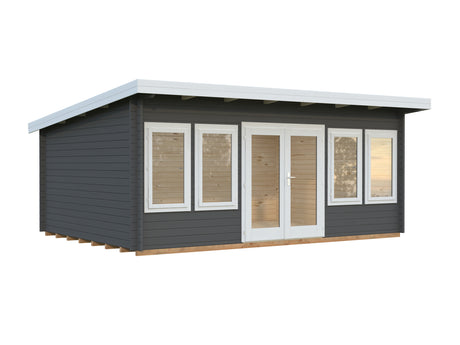
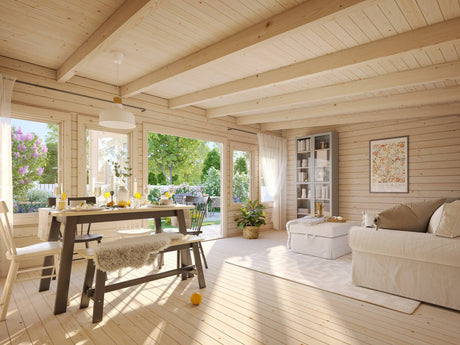
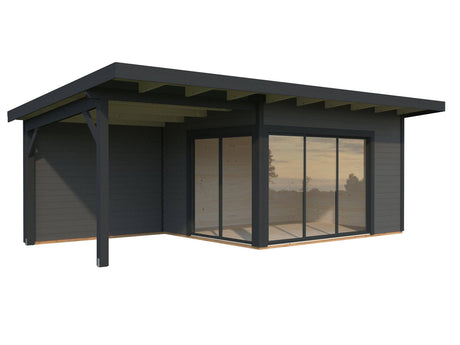
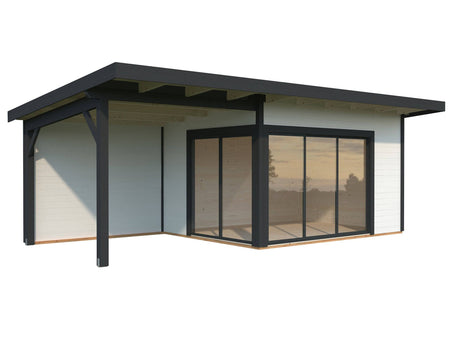
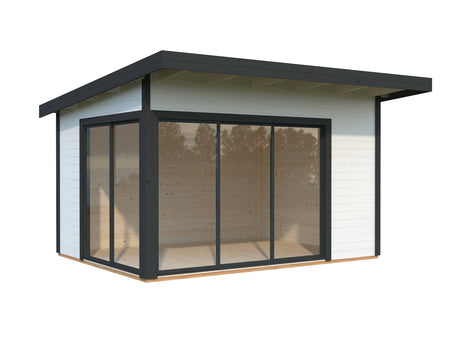
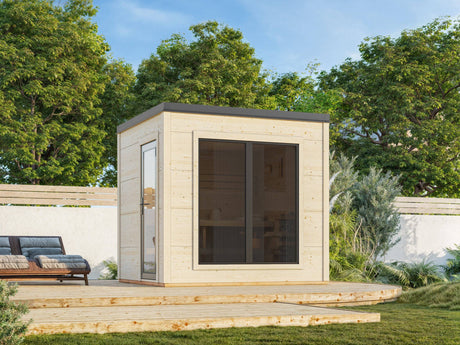
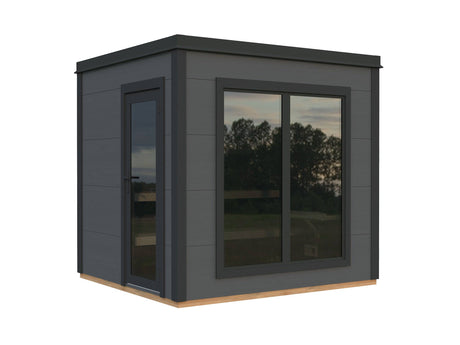
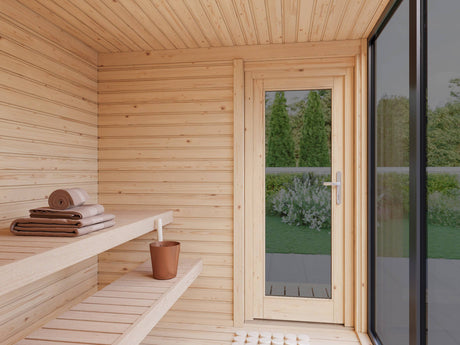
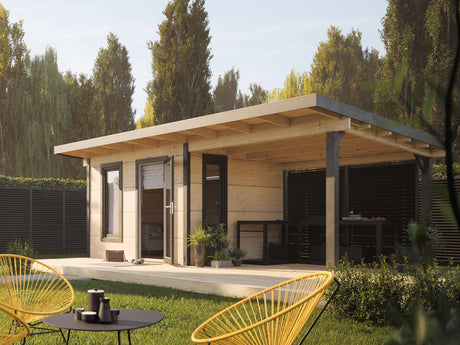
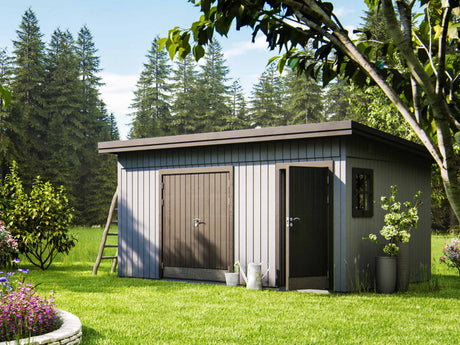
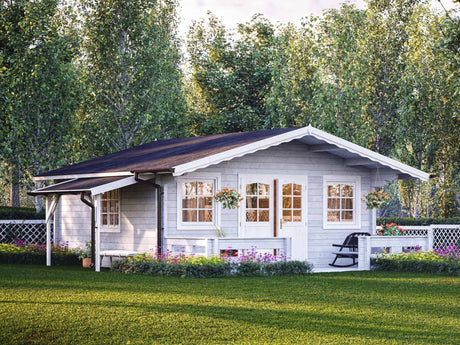
Just a thought 💡If you’re in the market for a new shed, start off with a high-quality Nordic Spruce cabin that’s made to the strictest manufacturing standards. When you start off with a quality build, your insulation costs are reduced because you’re not fixing gaps, cracks, and broken timber before you start. 👉 Palmako catalogue
1. Prepare your shed
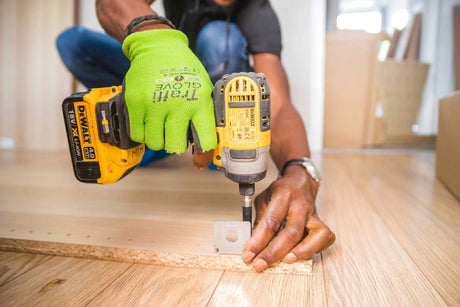
Proper insulation and reducing energy consumption depend on tackling all areas in your shed that can cause temperature fluctuations. Therefore, the first step is to do a thorough inspection of your shed, examining it for gaps in the timber, windows and doors that don’t close properly, and flooring gaps. This examination should include the roof.
Once you’ve made a list of all the potential areas that will leak warmth, you can decide on the type of insulation you need and measure how much to purchase. Before you start, gather your tools together. You’ll need:
- A construction measuring tape
- Stanley knife
- Spirit level
- Drill and nails
- Staple gun
- Hammer
- Safety equipment

Clear out the shed
Before getting stuck in, remove everything from the shed and clean the surfaces that you are going to be working with. Lay down protective sheeting on the floor boards. This will protect the shed’s structure from any materials that could damage the timber. Remove all items that could cause harm while you are working, such as sharp objects.
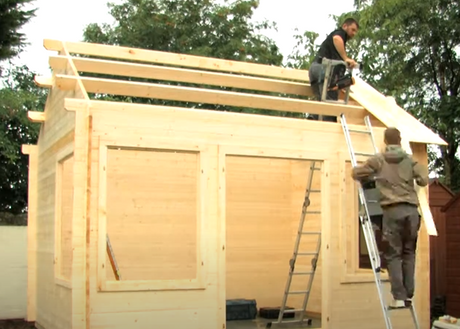
Ensure that you inspect ladders for stability before installing roof insulation. Work from one point in the shed to the other, and keep your work area clean of tools, paint, adhesive, and insulation material as you progress. Remember to put on your protective clothing before you begin.
2. Seal gaps and repair broken windows or shed doors

Begin by sealing all the gaps you spotted during your initial inspection. This can be done with weatherproof sealant, caulk (silicone, latex, or acrylic), or expanding foam to seal any visible gaps in the walls, floors, windows, and roofing.
You can also put a thin layer behind electrical boxes. Roofs are a major contributor of energy loss in any area, so you may want to consider EPDM roof coating for your cabin. At the same time, replace broken windows, and use weatherproof strips around the door frame.
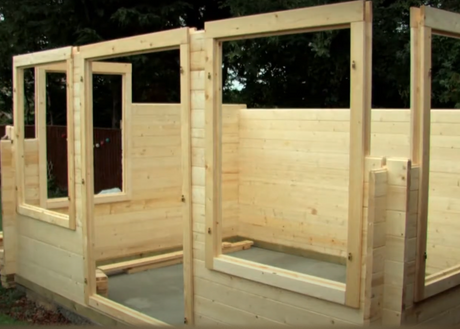
3. Insulate the walls
Now you can install insulation according to the manufacturer's recommendations. Cut the insulation batts to size. If you’re using bubble wrap or foil-backed wrap, it can be stapled directly to the shed’s internal walls. Overlap the edges and tape the seams to maintain a continuous barrier against heat loss and moisture build up.
For more robust insulation, such as PIR, PUR, EPS, XPS boards or mineral wool, you’ll need to install battens to create a simple framework on the inside of your shed walls. Now, cut the insulation to fit snugly between the battens, securing it with adhesive. If you’ve opted for spray foam insulation, this will need to be done by a professional since it can give off hazardous fumes and requires special safety equipment.

Work your way around the shed, systematically installing the insulation and ensuring that there are no gaps before finishing the interior by covering the insulated surfaces with a plywood board or plasterboard. You may need to install a vapour control layer (such as a plastic or foil sheet) before applying finishes if you have used mineral wool.
Pro tips:
-
When you have electrical installations in your shed, such as light boxes and plugs, take the time to cut the insulation to fit around these fixtures. This will ensure a snug fit and increase the shed's ability to retain heat.
-
If, for some reason, the insulation will need to withstand extreme temperatures, your best option is mineral wool.
4. Insulate the ceiling
Insulating the wall, especially with lightweight materials, is the easy part. Insulating the roof/ceiling is by far the most difficult part of this project. Follow these steps to get a good outcome:
-
Attach battens along the rafters to support the insulation.
-
Add a breathable membrane between the insulation and roof panels to moisture buildup.
-
Insert the foil-backed insulation, mineral wool, or foam boards between the rafters.
-
Staple or screw plasterboard or plywood over the insulation for a clean finish.
5. Insulate the floor

If accessible, install insulation between floor joists (e.g., rigid boards or wool). Alternatively, lay rigid insulation boards directly over the existing shed floor, then top with plywood or flooring boards.
Insulating your cabin floor prevents cold air from rising from the ground and reduces draughts and heat loss. It also increases insulation effectiveness for the entire shed.
The best types of insulation for a shed floor are as follows:
- PIR rigid foam boards: Great for thermal insulation all year round. It fits between floor joists or as a layover for the subfloor.
- Mineral wool: If you need good thermal insulation and sound insulation, cover the floor surface with mineral wool. Remember that when you use this material, you cover it with a waterproof membrane.
Pro tip: Creating a wooden floor frame with small sections allows you to cut the insulation sheets into smaller sections. Working in smaller sections ensures you cover the entire area thoroughly from side to side, sealing the edges of the floor with the frame.
Conclusion
Insulating your garden storage is a good idea because it not only reduces energy costs by minimising heat loss but also plays a protective role against damaging weather conditions.
This is important if you are storing important items such as expensive workshop material, gardening tools, or even precious household items. With the wide range of prices and materials available for insulation, it is not out of reach for most homeowners, and therefore a worthwhile investment all year round.
Palmako’s Quick Fit range of modular garden buildings allows for wall insulation too. Please don’t hesitate to call for guidance on suitable products.
References: