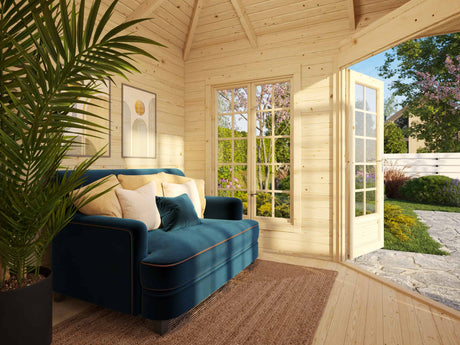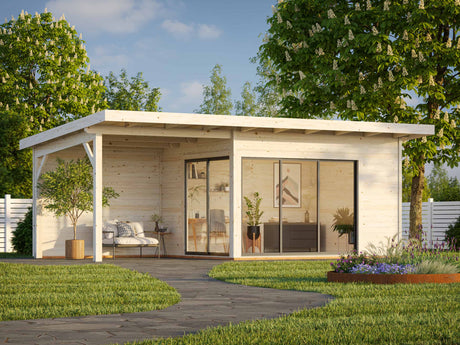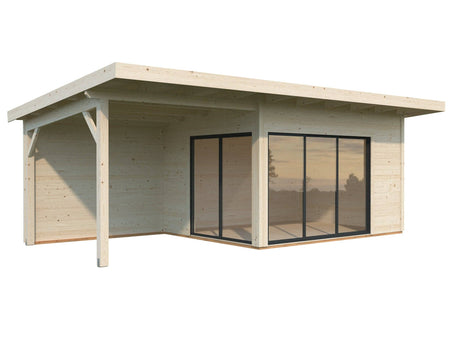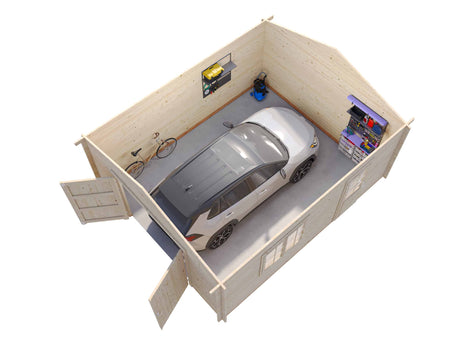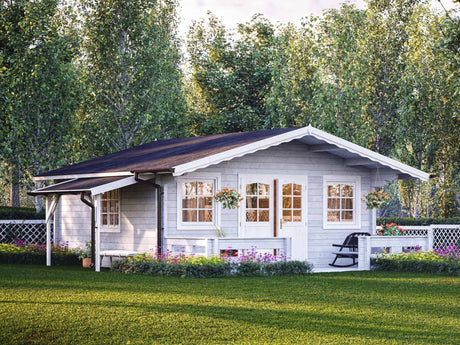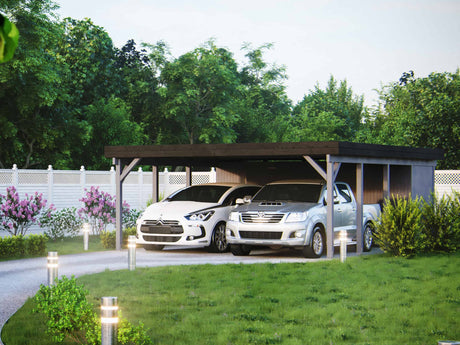


A common misconception about sheds is that they don't require a solid foundation. In reality, if you want your garden building to be stable, durable, and long-lasting, a solid foundation is essential. The appropriate base prevents water damage, reduces timber rot and prevents structural damage.
In this guide, we will explain how to find the right location for your shed and prepare the base area. We will also look at the different types of shed bases available and how to choose the right option for your shed.
Quick Overview
Building a shed base starts by choosing a solid, well-drained location and preparing the ground correctly. After clearing and levelling the site, excavate to the required depth and install a weed barrier if required. Compact the sub-base before constructing your chosen foundation. This can be a concrete slab, pavers, a timber base or plastic grids, depending on the cabin size.
Table of Contents
- How to choose the right location for a garden shed
- Preparation before you build your shed base
- Solid base options for a garden building
- How big should the base of your garden shed be?
- Common mistakes when building a garden shed base
- Conclusion
- FAQs
How to choose the right location for a garden shed
The right location for shed installations is more important than most people think. Examine your garden space for a firm and well-drained area. Avoid areas prone to waterlogging, as even the strongest shed will suffer from water pooling beneath it. Damp timber, mould and an unstable foundation resulting from water damage will be costly to repair.
Where possible, position your shed in an area that receives natural sunlight. Good sunlight dries out moisture around the shed, reducing dampness and timber decay. This is especially important for timber bases.
It is worth avoiding locations beneath large trees where falling branches can damage the shed, and roots can also gradually shift the shed base.
Find an area where you can leave at least 1m clearance between the shed and surrounding fences and walls. This provides enough space for maintenance, cleaning, and accessing all sides of the building.
Preparation before you build your shed base

Preparing the ground properly is one of the important stages of building your shed base. Avoid building directly on soil or grass to prevent problems that may develop after installation. Spending time on a solid foundation will help increase the longevity of your shed.
1. Ground preparation
The focus of ground preparation is to clear out vegetation and create a level working area. Uneven ground will lead to frame stress and structural failures.
Begin by marking up the perimeter by placing four wooden pegs in each corner and running a builder’s line between them. For a concrete slab, extend the footprint only by 5-10cm around the shed. For a gravel base, leave up to 60cm. Confirm layout squareness by measuring diagonals and moving the pegs until both diagonals are equal.
Next, remove grass, weeds, roots, stones and top soil until you reach firm ground. Excavate between 100 and 180mm below ground level. Concrete bases require deeper excavation, and timber bases require less. Check that the base is level to prevent future structural issues.
After excavation, compact the soil using either a tamper or a vibrating plate compactor. Compaction improves drainage, increases stability and reduces future settling.
2. Install a weed barrier
A heavy-duty weed membrane helps prevent weeds from growing beneath your shed and prevents moisture from rising up and damaging it. Lay the weed barrier over the prepared ground before adding sub-base materials.
A weed barrier (or damp proof membrane) helps to prevent stones from sinking into the dirt when laying a gravel pad, prevents soil from mixing with infill for plastic grid bases, and blocks plant growth under timber frame bases.
3. Materials and tools you’ll need for preparing a shed base
|
Materials |
Tools |
|
Wooden pegs and a string line |
Tape measure |
|
Gravel or MOT Type 1 sub-base |
Spirit level |
|
Weed membrane |
Rubber mallet |
|
Spade and shovel |
Solid base options for a garden building
A solid shed base prevents issues such as timber rot, sinking and structural movement by providing a flat, stable surface beneath the shed floor.
1. Concrete shed base

A concrete shed base provides the strongest, most durable foundation for any size shed, but especially large sheds.
To build a concrete base:
- Excavate 150-200mm below ground level.
- Install a compacted sub-base.
- Construct timber shuttering around the marked-out perimeter.
- Combine ingredients (cement, sharp sand, gravel, water) into a uniform concrete mix, using a mechanical cement mixer.
- Pour the wet concrete into the formwork.
- Level the surface using a straight edge, such as a screedboard or a timber plank (DIY option), to create a flat surface
- Allow the concrete to cure fully before installing the shed.
2. Paving slabs

Paving slabs offer an excellent combination of durability, affordability and ease of installation for small and medium-sized garden sheds.
To build a paving slab base:
- Prepare a level surface for your shed by excavating to a depth of 100-150mm.
- Using MOT Type 1 or crushed stone, prepare the sub-base. Compact it with a tamper or plate compactor.
- Spread and level a layer of sharp sand or a sand-and-cement mortar bed.
- Position the paving slabs according to your marked layout.
- Gently tap each slab into place with a rubber mallet.
- Use a spirit level to check that each slab is even, adjusting as necessary to ensure the entire base is level.
- Allow the pavers to settle before installing the shed.
3. Wooden shed base

A wooden shed base is an affordable option that works well on reasonably level or slightly sloped ground. Wooden frames are best suited for small and medium-sized sheds.
To build a wooden frame base:
- Prepare a firm and level base by excavating 50mm below ground, laying a weed membrane and compacting a gravel layer for drainage.
- Construct a timber frame according to the shed’s size, using pressure-treated timber bearers for durability. Install floor joists, spacing them 400-600 mm apart for support.
- Secure joints with exterior-grade screws and fittings.
- Check that the entire frame is level using a spirit level, and adjust as necessary.
- Position the timber base ready for shed installation.
4. Plastic shed base

Plastic grid systems are lightweight, rot-resistant, and low-maintenance foundations that are quick and easy to install. This type of base is best for plastic sheds and small timber sheds.
To build a shed base using plastic grids:
- Mark out the size of your shed using wooden pegs and string. Excavate to a depth of 50-100mm below ground level.
- Lay a weed membrane over the prepared area. Add a compact layer of gravel to create a stable sub-base.
- Connect the plastic grid panels together using the manufacturer’s instructions.
- Fill the grid cells with gravel and level the surface.
- Install the shed directly onto the plastic base.
How big should the base of your garden shed be?
The size of a shed base depends on the materials used. For a concrete slab or pavers, the base should extend by 25-50mm. A timber or plastic grid base should be the same size as the shed. Here are some extension guidelines for concrete slab or paver bases.
|
Shed size (W x D) |
Base extension |
|
Up to 10m2 |
25mm on each side |
|
Over 10m2 |
Up to 50mm on each side |
Common mistakes when building shed bases
Most shed problems can be traced back to mistakes made during the preparation or construction of the shed base. Understanding these mistakes and their effects on the final result will help you avoid costly repairs and extend your shed's lifespan.
- Building directly on soil or grass results in structural shifts and moisture damage.
- Choosing a poorly drained area, which leads to timber decay, mould and frost damage.
- Failing to compact the sub-base leads to an uneven surface. Over time, this creates cracks and an unstable floor.
- Making the base the wrong size leaves parts of the shed unsupported or at risk for rainwater collection around the edges.
- Installing the shed before the concrete has fully cured, weakening the slab and causing structural damage.
Is there an alternative to building your own shed base?

If you want to save time, don’t have the skills, or want to ensure a professional finish, there are alternatives to building your own shed base.
For smaller or lightweight sheds, you can consider ready-made plastic shed base kits. They are specifically designed for easy, DIY installation and require less ground preparation.
For quality timber garden buildings, many manufacturers offer installation services when you purchase one from them. Having your shed base professionally installed can help ensure it meets the manufacturer’s requirements for levelness, drainage and load-bearing capacity. Professional installers also have access to specialist equipment, making the work faster and more precise.
Conclusion
Building a solid shed base is more than just a preliminary step; it's the foundation of your whole structure. By taking the time to choose the right location and properly prepare the ground, you ensure your shed remains a sturdy, attractive addition to your outdoor space.
Whether you choose concrete, paving slabs, timber or plastic grids, a level, well-drained base will help to protect your investment for years to come.
If you’ve been scouting around for the ideal garden shed and haven’t found one yet, explore our premium range of garden sheds. We offer expert installation for all sheds, regardless of size.
FAQs: How to build a shed base
1. How do I build a shed base?
Start by assessing your outdoor space. The best area will allow you to build a level platform and have a good amount of natural light. The most suitable foundation depends on the shed's size. Start by choosing durable materials, either concrete, paving slabs, a wooden frame or plastic grids. Then, excavate the site and compact the ground before installing your chosen base.
2. What is the best base to put under a shed?
The best base for a shed is a long-lasting foundation that extends its lifespan. The most common type is a concrete base, followed by paving slabs. A timber base is also a good choice for medium or small sheds. Use a plastic base only for a lightweight, non-masonry shed. For quick and easy installation, use a shed base kit for timber or plastic bases.
3. What is the cheapest way to build a base for a shed?
Wooden bases are cost-effective, easy to construct, and durable. They require less excavation work than concrete and will last 5 - 25 years, depending on the wood you use. A 3m x 2m timber costs between £100 and £250 in the UK, while a DIY concrete base costs between £200 and £350. These costs are estimates and vary according to the size of the shed. Use a material calculator for precise costs.
4. Can you put a shed straight onto concrete?
Yes, you can put a shed directly onto concrete if the base is level. Concrete is one of the strongest and most stable foundations for timber sheds of any size. Types of concrete bases you can put a shed on are concrete slabs and pavers. Concrete blocks resting directly on dirt are not ideal for a shed base. They will rest unevenly and may sink into the ground.
Reviewed by the Palmako UK content team with insights from our garden building experts.